August 25, 2026
Pet Portraits With Multiple Pets: Plan the Group
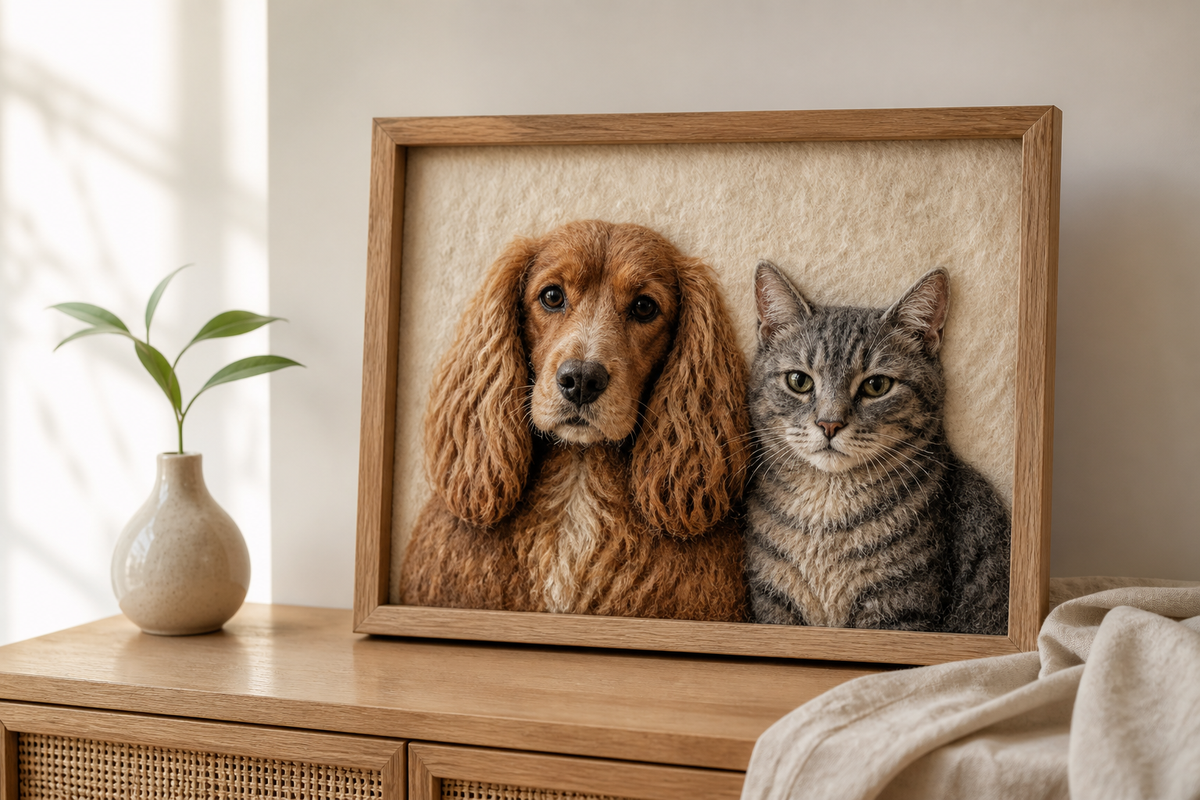
Pet portraits with multiple pets can start with separate photographs. A dog photographed in the garden and a cat on the sofa can each have a useful lead reference. Before choosing details, decide how the animals should sit together in the finished composition.
That work begins before anyone chooses fur colours or background details. Decide the group shape, the relative size of each pet and which photograph is trusted for which feature. Label the photographs so the maker does not have to choose between conflicting expressions.
Start with the group, not the prettiest photograph
Lay out one possible reference for each pet and ignore image quality for a moment. Look only at posture and direction. Is one animal facing left while the other turns sharply right? Is one sitting upright and the other lying down? The poses do not have to match, but they need to belong to the same composition.
A quiet side-by-side arrangement is usually easy to read. A slight overlap can feel closer, while a wide gap gives each pet more independence. None of these is automatically correct. Choose the relationship you recognise rather than inventing a closeness or hierarchy that was never there.
If one animal is meant to be the visual anchor, say so. Otherwise, ask for equal attention. Leaving that decision unstated can produce a technically tidy portrait that still feels unlike the household.
Give each photograph one job
For each pet, choose a lead image for expression and head angle. Supporting photographs can show the opposite ear, tail shape, chest markings or the coat in more reliable daylight. Label each supporting image with the feature it shows.
Do not ask a maker to average five different expressions. Write down which one is the pet you remember. Pets Memorial Gifts’ reference photo guide covers focus, light and useful angles; this brief adds the relationships between separate sets of photographs.
The maker can now find the intended expression and markings without guessing which image takes priority.
From separate references to a shared layout
Assign the reference roles
Lead reference: face and head angle.
Supporting reference: chest marking.
Lead reference: face and head angle.
Supporting reference: body outline.
Sketch the arrangement
Choose the side, gap and gaze direction before fine detail. The equal-sized markers above are placeholders: use a shared reference or a written size note to set the pets' relative scale.
Keep a gap for a side-by-side group, or mark a small overlap if that relationship feels right. Ask the maker to confirm that the proposed layout is possible in the chosen format.
Copy the reference labels into your brief so the maker knows which photograph to consult. Missing features stay unknown until another reference shows them.
Scale needs an anchor
Separate photographs are poor rulers. A small dog close to a phone camera can fill more of the frame than a large cat photographed from across a room. If relative size matters, include something firmer than visual guesswork.
A photograph of both pets beside the same chair can help even if it is too blurry for facial detail. So can their approximate shoulder heights, or a plain note that the cat's seated head usually reached the dog's shoulder. The point is not millimetre accuracy. It is avoiding an accidental size reversal.

Eye lines decide whether the animals feel together
Two front-facing head studies can look formal and balanced. A pair looking slightly towards the centre can feel more connected. One pet looking straight out while the other looks away may feel candid, but it can also make the frame seem split.
Check the height of the eyes as well as their direction. A head placed too high can make one animal look as though it is floating behind the other. Ask to see the simple arrangement before fine detail begins when the maker's process allows it.
Format affects what can be arranged comfortably. A flat portrait, shallow relief and freestanding piece handle overlap and depth differently, so use the 2D versus 3D portrait guide for that separate choice.
When light and coat colour disagree
One pet may be photographed in cool window light and another under a warm lamp. Dark coats may lose detail in shadow; pale coats may pick up the colour of a wall or blanket. Do not silently choose the most attractive colour from each image.
Instead, mark the reference that looks closest to real life. If no photograph is reliable, describe the uncertainty: “His coat was neutral grey, not blue-grey,” or “The indoor image makes her cream fur look more orange than it was.” This gives the maker a boundary without claiming information the photographs cannot supply.
The background is a new decision
Separate references often bring separate rooms, seasons and camera angles. Trying to preserve both backgrounds can make the portrait feel patched together. Start again: plain ground, a shared colour, or one simple location cue that belongs to both pets.
A favourite blanket or chair colour may be enough. A detailed garden scene needs more space and more visible evidence. Check the finished format before committing to it, and use the live felt pet portrait collection for current formats, dimensions and availability rather than inferring them from editorial images.
Name what the photographs do not show
Hidden features should stay unknown unless another reference reveals them. If the cat's left side is missing, do not ask for a mirrored pattern unless the markings really were symmetrical. If a dog's collar covers the neck, say whether it should remain, be omitted, or be replaced only when there is evidence for the fur underneath.
This is also where you note time. A puppy photograph and a senior photograph may both be clear, but they describe different faces and coats. Choose the age you want represented instead of blending them by accident.
Review the group before the details
At the preview stage, soften your gaze and look at the whole silhouette. Are the pets the intended size? Does the spacing feel natural? Is one face crowded by the frame? Those decisions are harder to fix mentally by admiring a well-made eye or ear.
Then move closer. Compare expression, markings, ear shape and colour against the references assigned to those jobs. The portrait preview guide gives the detailed review sequence without turning every difference into a fault.
Before approving a layout, check the whole group against your brief. Confirm the relative size and spacing first, then compare each pet with its labelled references.
The felt pet portraits guide introduces the medium. Confirm whether a maker accepts your proposed group before placing an order.